Description
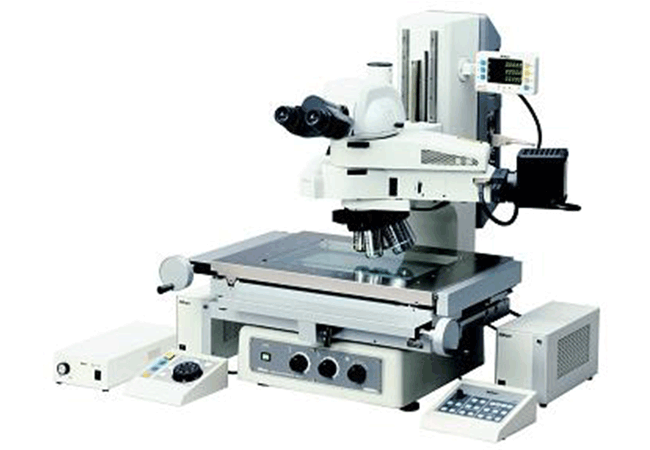
The MM400/800 is a new series of innovative measuring microscopes designed for industrial measurement and image analysis. They integrate key performance features delivering complete digital control for maximum measuring accuracy in demanding industrial environments. The systems support a host of new and expanded features including Nikon’s electronic connection hub that provides total integration of microscope peripherals managed by Nikon’s EMAX2 metrology software.
High-performance objectives
- CFI60 LU Plan Fluor Series: The transmission rate in the UV wavelength range has been improved for the new CFI60 LU Plan Fluor series. These objective lenses are suitable for various research, analysis and examination needs, while maintaining Nikon’s commitment to high NA and long working distance. Only one kind of objective lens is needed for brightfield, darkfield, simple polarizing, DIC and UV epi-fluorescence observations. These objective lenses offer high resolution and ease of use.
- CFI60 L Plan EPI CR Series Objective Lenses with Correction Ring: The CFI60 series now includes the CFI60 L Plan EPI CR series objectives to cope with the thinner cover-glass used in liquid crystal displays and highly integrated, dense devices. Coverglass correction can be continuously made from 0 mm up to 1.2mm (0-0.7mm and 0.6-1.3mm for 100x) with the correction ring. The 100x objective lens offers 0.85 high NA, while enabling high-contrast imaging of cells and patterns without being affected by the coverglass.
Versatile configurations – The design of the MM-400/800 series measuring microscope has been revamped to provide users with increased flexibility in choosing modules for system configurations. The system can be configured according to your needs, using the extra long toolmaker’s objectives (1x to 100x) or the universal system configuration using microscope objectives on a revolving turret. Also, the construction of the entire microscope boasts improved rigidity and offers large high accurate digital stages. Nikon’s legendary construction maintains its excellent reliability and measurement accuracy over years of heavy use.
Key benefits
- Greater accuracy
- Digital imaging and vision processing metrology
- The larger stage for increased workpiece handling
- Non-contact Z-height measurements
- Coordination with Data Processing Systems DP-E1A
Applications
- Surface analysis, Surface examination, Manual examination,
- Plastic manufacturing, Metal manufacturing
- Implants/ Prostheses, Mobile phones, shavers & watches
- Micro-electronics, Opto-electronics
- Telecom & electronics, Antennae, Telescope optics


