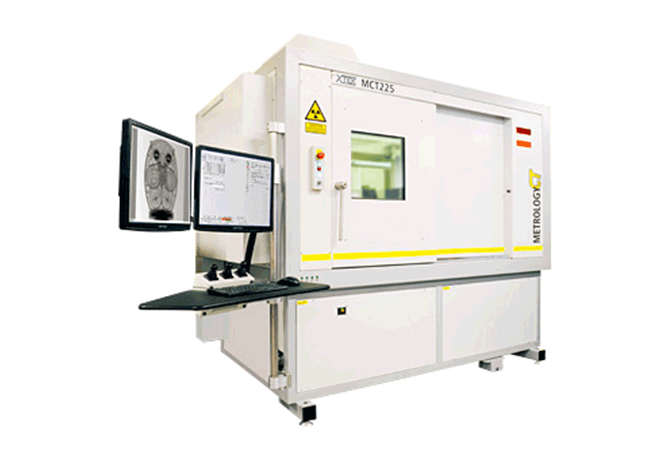
Description
MCT225 efficiently measures internal and external geometry without reference measurements and damaging the sample. With fifty years’ CMM experience and over 30 years’ X-ray experience, our pedigree for reliable high-quality Metrology CT is second to none.
Absolute accuracy – MCT225 is pre-calibrated using accuracy standards traceable to the UK’s national measurement institute (NPL) and verified using VDI/VDE 2630 guidelines for Computed Tomography in Dimensional Measurement. Absolute Accuracy guarantees measurement accuracy without time-consuming comparative scans or reference measurements, samples are simply placed on a rotary table inside the enclosure and measured. Several key metrology features provide long term stability and enable the MCT225 to achieve an impressive MPE of 9+L/50 µm
Versatile X-ray CT solution – The metrology grade MCT-225 system is configured for high accuracy measurement applications, with hardware modifications and precision alignment procedures with MPE verification in accordance with VDI/VDE 2630. The advanced Inspect-X software, with intuitive workflows, graphical displays and capabilities for automation, controls all systems in the range.
Unique rotating target – Nikon Metrology is the only company in the world to supply X-ray CT systems with rotating target technology. Other products on the market, which use heat-absorbing materials, require cool-down periods and may have power limitations, but the unique 225kV rotating target allows continuous operation across its entire power range up to 450W for superior inspection productivity.
The liquid-cooled, rotating target technology adds further capabilities for power, resolution and reduction of scan time. It efficiently disperses the heat generated as the electron beam hits the surface to generate X-ray photons, boosting the flux by up to 5 times, enabling up to 3 times higher resolution for the same power, or allowing data to be collected 3-5x faster for the same resolution.
Applications
- Solder reflow analysis
- BGA connectivity and analysis
- Solder void calculation
- Through-hole measurement and inspection
- Die attach voiding measurement
- Ball bond analysis
- Stitch bond analysis
- Micro BGA / chip-on-chip analysis
- Pad array analysis
- Dry joint detection and analysis
Benefits
- Nikon Metrology developed a microfocus X-ray source
- Temperature controlled enclosure
- High precision linear guideways
- Axis travels error corrected
- Liquid cooled X-ray source
- High-resolution optical encoders
- High-resolution 4 Megapixel detector
- Finite Element Analysis (FEA) optimized manipulator


