Description
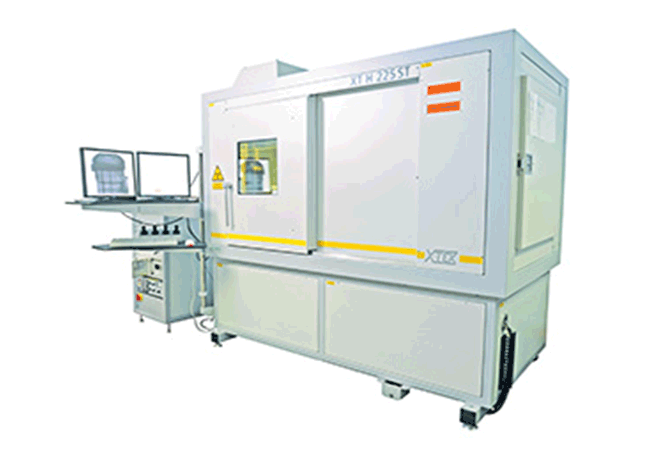
Detailed capture and measurement of internal component and assembly features are often vital for quality control, failure analysis and material research. The entry-level XT H 225 systems feature a microfocus X-ray source offering high image resolution. The XT H 225 ST system is an extended version capable of housing larger or heavier samples and a choice of X-ray sources ranging from transmission target 180 kV to rotating target high flux 225 kV. They cover a wide range of applications, including the inspection of plastic parts, small castings and complex mechanisms as well as researching materials and natural specimens.
Half.Turn CT, faster CT acquisition – Instead of rotating the sample under investigation through 360 degrees while the X-rays directed at it are either absorbed or pass through to the detector, Nikon Metrology has devised a method that allows sufficient data to be obtained by rotating the sample through just over 180 degrees.
Complete in-house control over the development of world-leading reconstruction software has facilitated the Half.Turn CT breakthrough, as it enabled the introduction of the novel automatic center of rotation calculation coupled with optimization of the reconstruction algorithm. Together they eliminate artifacts introduced by rotating a sample through less than 360 degrees. As a consequence, an image is produced automatically without loss of quality or accuracy from about half of the data usually acquired with conventional CT.
Unique rotating target – Nikon Metrology is the only company in the world to supply X-ray CT systems with a rotating target technology. Other products on the market, which use heat-absorbing materials, require cool-down periods and may have power limitations, but the unique 225kV rotating target allows continuous operation across its entire power range up to 450W for superior inspection productivity.
The liquid-cooled, rotating target technology adds further capabilities for power, resolution and reduction of scan time. It efficiently disperses the heat generated as the electron beam hits the surface to generate X-ray photons, boosting the flux by up to 5-times, enabling up to 3 times higher resolution for the same power, or allowing data to be collected 3-5x faster for the same resolution.
Auto.Filament Control and Quick.Change – High-resolution microfocus X-rays start with electrons emitted from a thin filament that has to be replaced periodically. Less frequent changing of the filament is desirable, as it means that system availability is higher. Long-life filaments are available but they are thicker, so the high-resolution nature of the microfocus X-rays is lost. With the XT H 225 ST 2x, the user no longer has to choose between high-resolution and long-life filaments. Auto.Filament Control intelligently controls the X-ray source to double the lifetime of the filament and increase system availability.
Nikon Metrology is able to implement these algorithms as its sources are designed and manufactured in-house, providing the ability and expertise to control the source in such a way that operational life is increased.
When the filament does have to be replaced, downtime is considerably lowered by the introduction of Quick.Change plug-and-play filament cups. This convenient, highly repeatable procedure eliminates human error. In addition, the filaments themselves have been aligned and conditioned by Nikon Metrology’s X-ray engineers to deliver optimal performance.
Local.Calibration, high accuracy CT measurements – Local.Calibration allows fast, automated calibration of voxel size at any CT scan position, rather than the user having to perform the function manually. It leads to a radical improvement in measurement accuracy for metrology applications. Further benefits are that the procedure is deskilled and dimensional accuracy is traceable. As the CT scan position is calibrated with reference to a known artifact, measurements can be made with a high level of confidence.
Applications
- Solder reflow analysis
- BGA connectivity and analysis
- Solder void calculation
- Through-hole measurement and inspection
- Die attach voiding measurement
- Ball bond analysis
- Stitch bond analysis
- Micro BGA / chip-on-chip analysis
- Pad array analysis
- Dry joint detection and analysis
Benefits
- Flexibility combined in a single system: X-ray for quick visual inspection, CT for in-depth analysis
- Fast data capture and high-quality images
- Fast operation with interactive joystick navigation
- High-resolution digital imaging and processing
- Safe system requiring no special precautions or badges
- Tight integration with industry standard postprocessing applications


